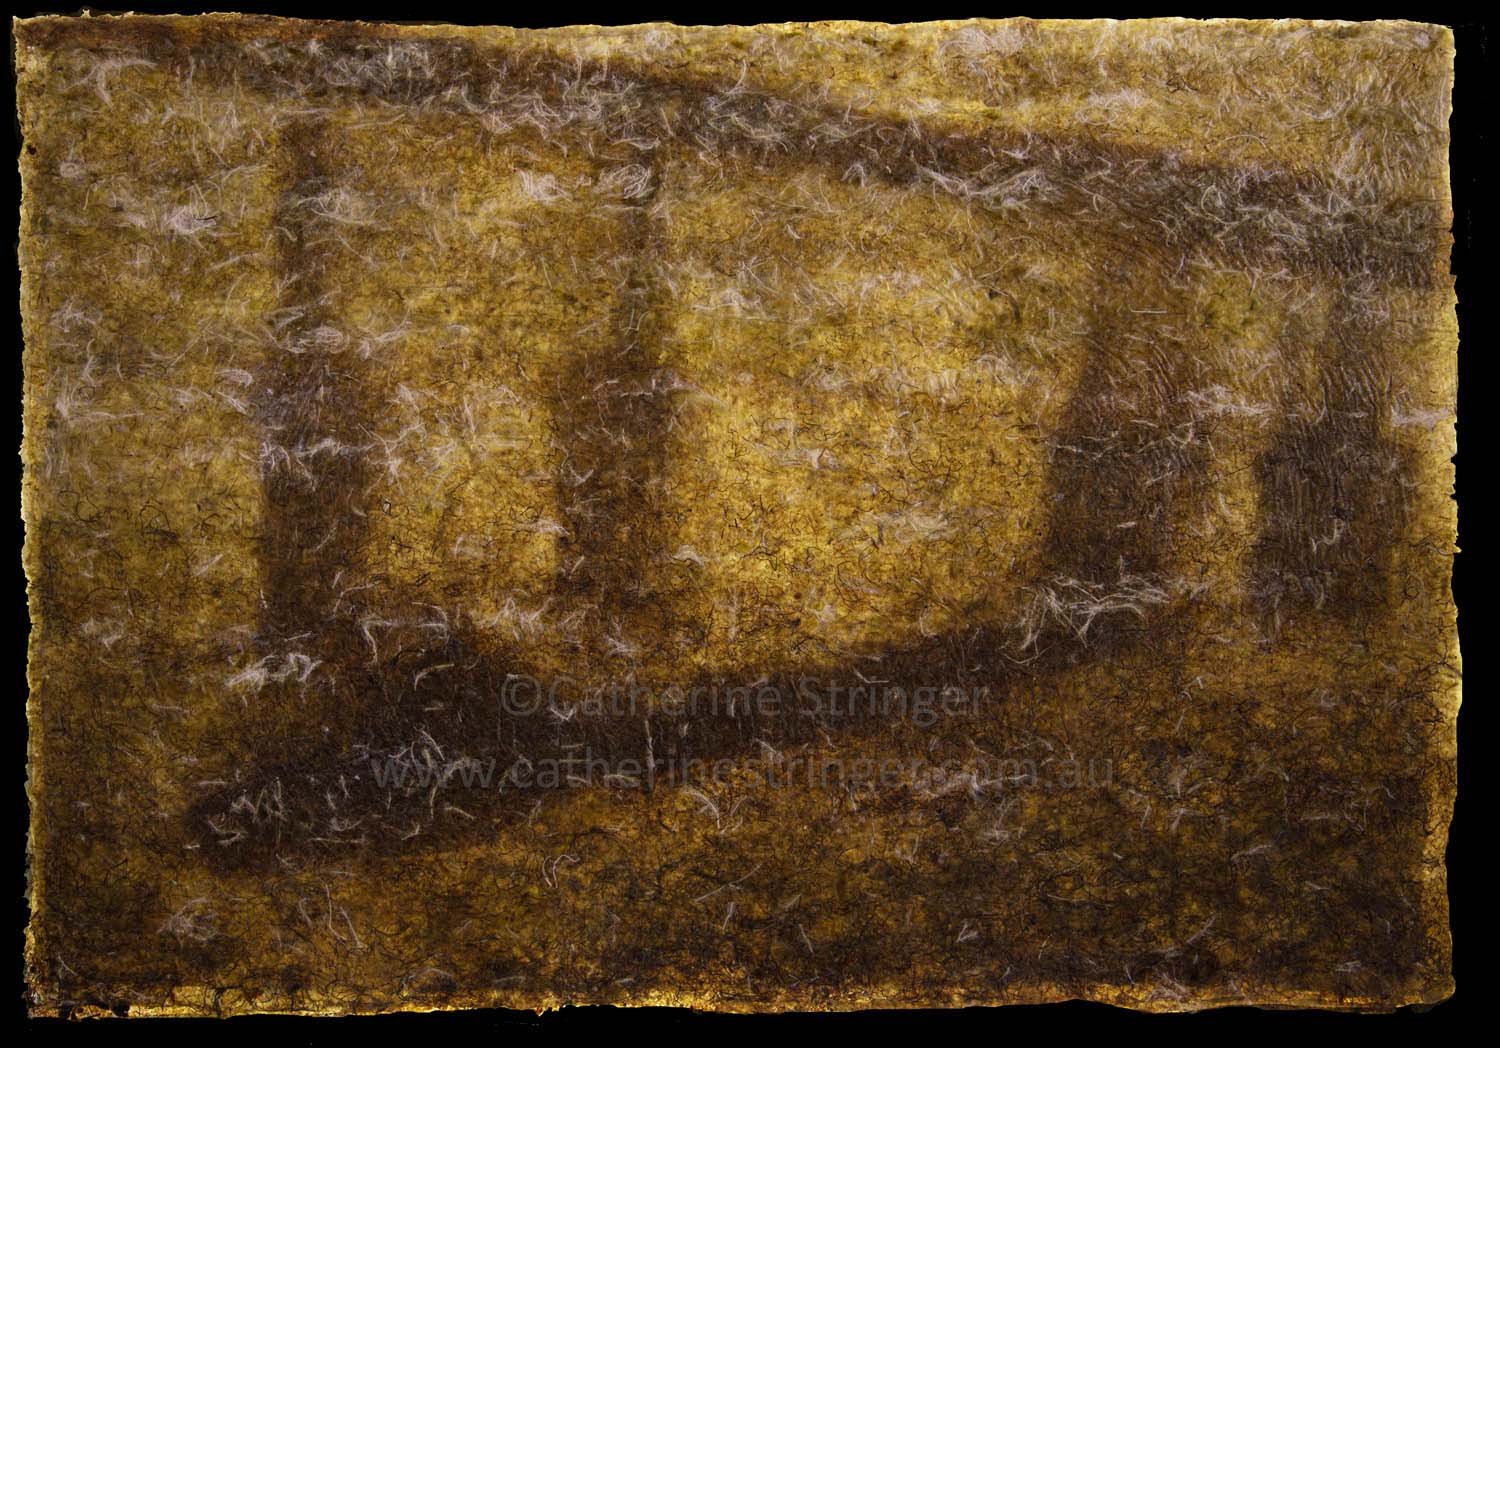
Derwent Requiem
multilayered handmade marine macroalge paper
black timber frame with LED backlighting
56 × 75 cm (framed)
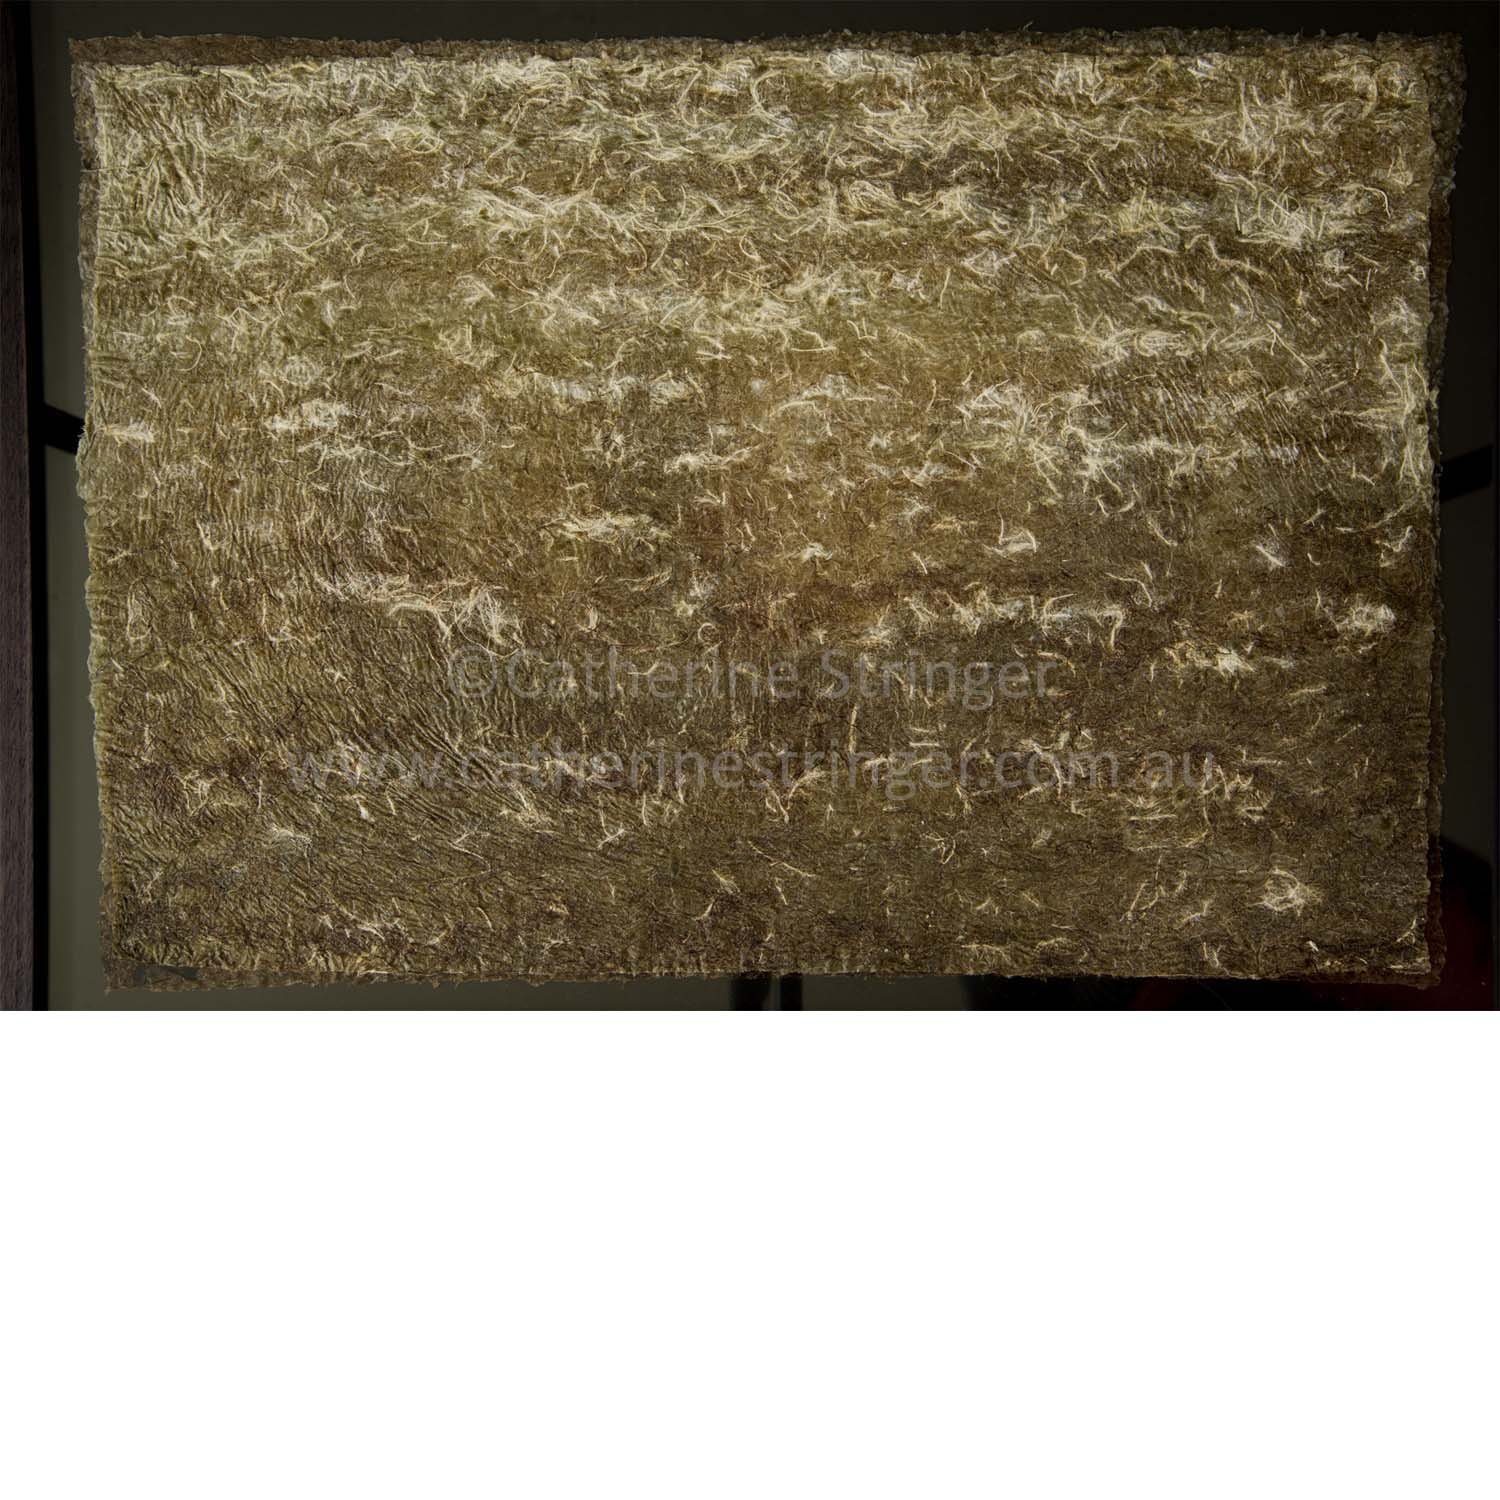
multilayered handmade marine macroalge paper
black timber frame with LED backlighting
56 × 75 cm (framed)
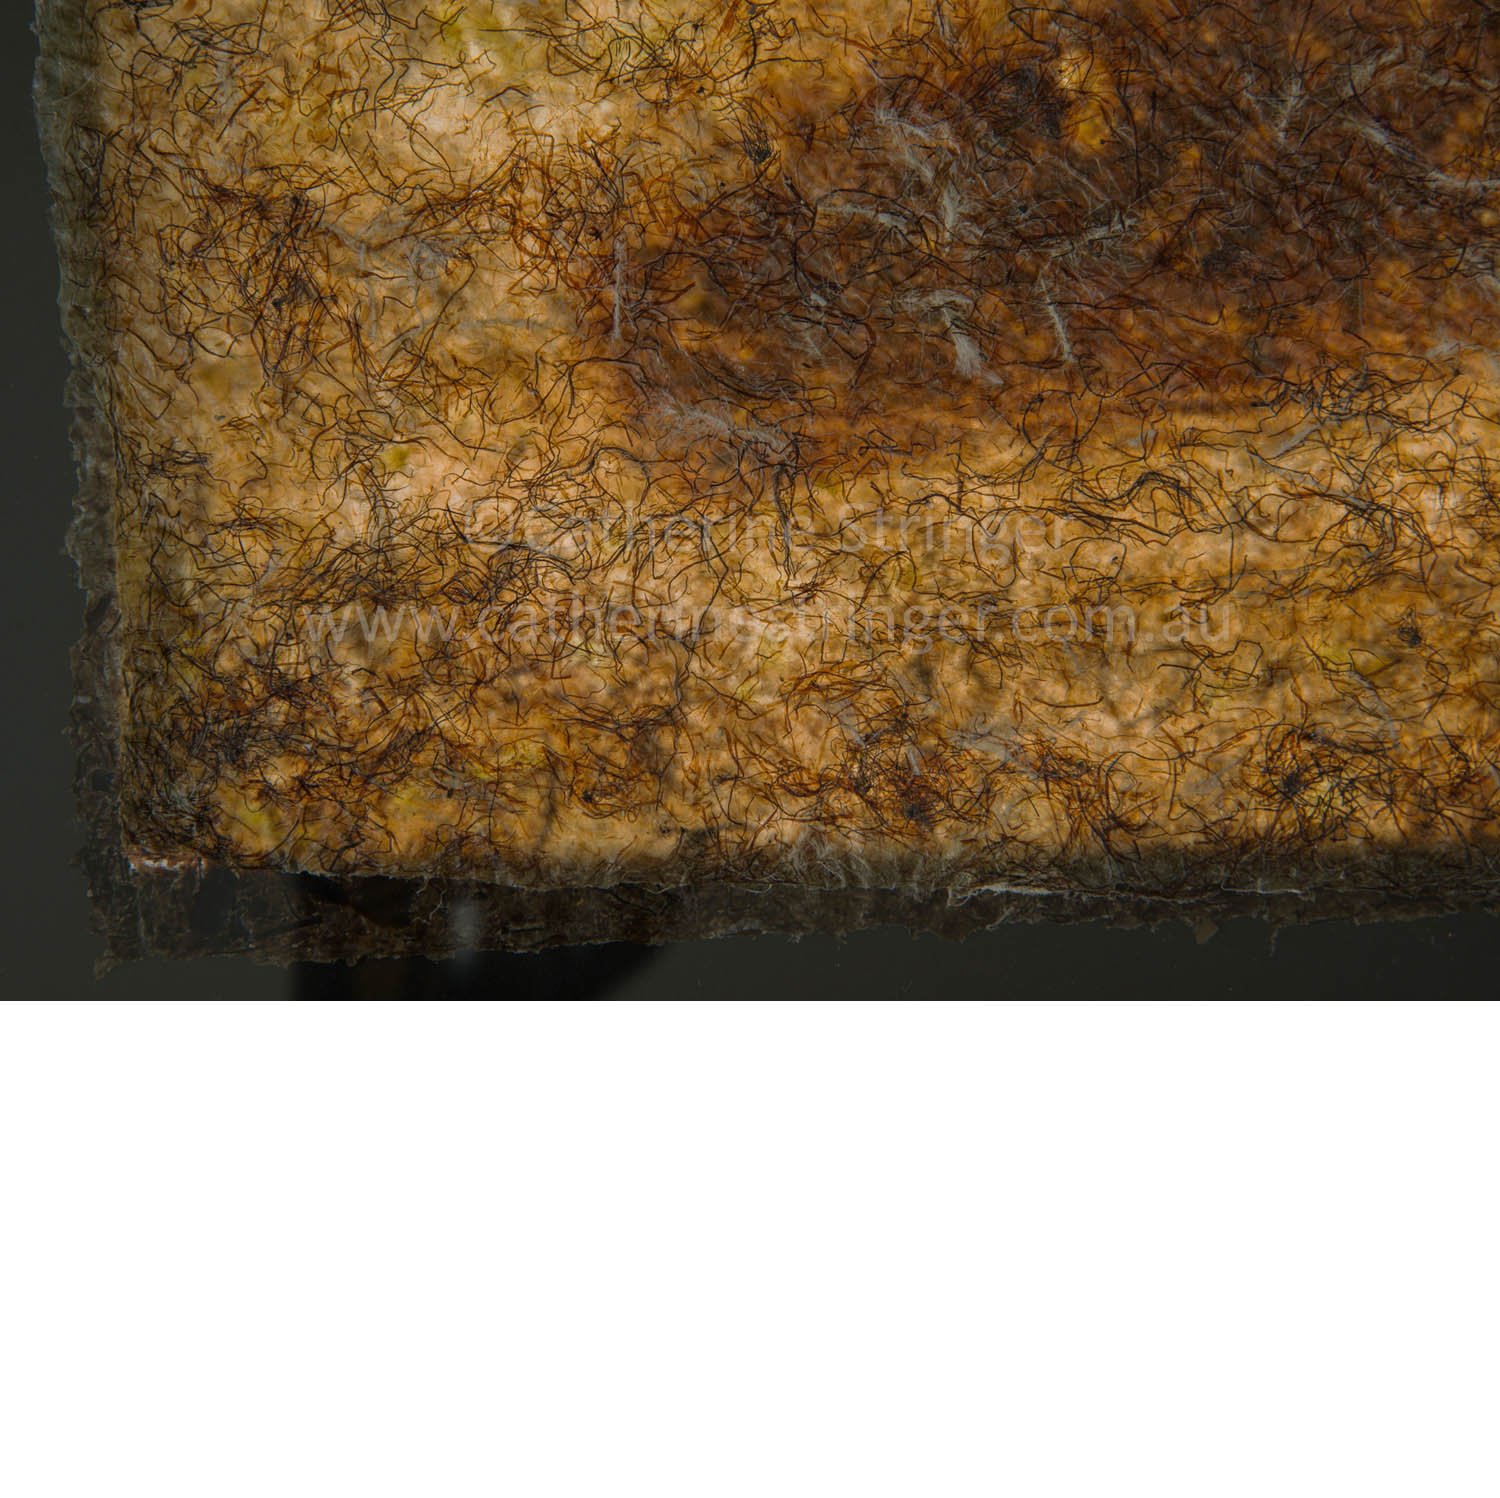
multilayered handmade marine macroalge paper
black timber frame with LED backlighting
56 × 75 cm (framed)
This artwork commemorates the Tasman Bridge Disaster on January 5th 1975, when the 7,000-tonne bulk-ore carrier Lake Illawarra collided with the pylons of the Tasman Bridge whilst travelling upstream in Hobart's River Derwent.
The artwork is constructed from 3 sheets of paper which were handmade from River Derwent seaweeds. The top layer depicts the river’s surface, whilst LED backlighting reveals the lower layers, and the sunken shipwreck beneath the bridge.
A 120m section of the bridge crashed onto the ship's deck, causing the deaths of 7 crew and 5 occupants of 4 cars which drove off the bridge and plunged 45m into the river below. Two cars managed to stop their vehicles in time, but with their front wheels hanging over the edge. Fortunately they were able to exit their cars successfully.
As a result of the bridge's collapse, the city of Hobart was divided, and people on the Eastern Shore became isolated from many services. The bridge was not reopened for over 2 years.